FAQ sur la rotule de trépied Flexshooter


FAQ about the Flexshooter tripod head
When you start looking into the Flexshooter tripod head, the question usually isn’t whether to get one, but rather the famous “Yes, but which one exactly?”. In this FAQ about the Flexshooter tripod head we’ve collected the typical questions we get more frequently and give you clear, practical answers, so you don’t have to research forever and can simply get out and shoot.
Flexshooter with lever clamp or screw clamp?
First, the basics: on the Flexshooter sits a so‑called cross clamp. This means you can securely mount both your lens with a lens foot or Arca‑compatible plate and your camera with an Arca Style camera plate or L‑bracket.
The clamp grips from four sides at the same time, all four jaws move synchronously. This ensures very even, stable clamping, but it does have one small drawback: the adjustment travel is comparatively long.
With the version with screw clamp this specifically means that you open and close the clamp over a longer screw travel. It works reliably, but if we’re honest, in the long run it’s a bit leisurely. Especially when you’re outside in the cold, maybe wearing gloves, or when things have to go quickly, this long turning can eventually get on your nerves.
This is exactly why in most cases we recommend the Flexshooter with lever clamp. Here you don’t have to keep screwing: you simply flip the lever open, insert your camera‑lens combination and close the lever again. Done. This is not only significantly faster, but in everyday use it also just feels safer, because you immediately notice whether everything has properly locked into place.
Another plus of the lever clamp: it is a bit more tolerant. You can finely readjust the clamping width so that your camera or lens sits really snug and play‑free on the Flexshooter, even if you use different Arca Style plates.
Anyone using multiple systems or plates from different manufacturers in particular benefits from this small but crucial flexibility.
Black Edition or Silver Edition – what’s the difference?
The technical design is identical for both versions, the function is the same, the load capacity is the same, and so is the mechanics. The difference lies in the anodizing of the outer ball.
On the Black Edition the outer ball is black anodized. The Silver Edition has a silver‑colored anodizing.
Between the two anodizings themselves there is no difference in terms of stability or durability; the surfaces are comparably robust in use.
In practice, however, we observe a clear trend: nature photographers, wildlife photographers and everyone who works a lot in the forest, in reed beds or generally in more inconspicuous environments tend to choose the Black Edition significantly more often. The black ball reflects less and is hardly noticeable in nature, which can definitely be an argument for skittish animals or discreet working methods.
Those who work more in the studio, in architecture or in urban environments sometimes deliberately choose the Silver Edition, simply because it stands out visually and pairs well with other silver or metallic components.
Functionally, there is no difference. Both versions perform the same; in the end the decision is a matter of taste and intended use.
Flexshooter Mini or Flexshooter Pro – which size is right?
The choice between Flexshooter Mini and Flexshooter Pro depends on your gear. Both heads are powerful, but they are optimized for different priorities.
The Flexshooter Mini is excellently suited for telezoom lenses. It carries typical telezooms without complaint, but also handles large glass. Examples are 600 mm f/4 or 400 mm f/2.8 lenses, which the Mini can definitely support.
The special feature lies in the spring compensation, which on the Mini is tuned more towards compact camera‑lens combinations. This means that these setups balance very harmoniously and are pleasant to handle.
However, if you are working with really large, heavy prime telephoto lenses and your gear overall falls more into the “massive” category, then the Flexshooter Pro is the better choice. For larger setups with long primes, the Pro’s spring compensation works optimally. Your gear can be panned and tilted in a very controlled way without you constantly having to fight against the weight.
Of course, you can also use the Pro with lighter combinations. That is no technical problem. In practice, however, it often feels a bit less harmonious, because the Pro’s spring compensation is designed for higher loads and simply feels too strong with very light setups. You could say it works, but it’s not really enjoyable, because the fine, smooth handling you expect from a perfectly matched head is somewhat lost.
So if you mainly work with telezooms and moderate telephoto primes, the Flexshooter Mini is usually the coherent, pleasantly lightweight solution. If, on the other hand, you regularly work with large, heavy super‑telephoto lenses, there is hardly a sensible way around the Flexshooter Pro.
What actually fits on the Flexshooter tripod head?
You can find a detailed blog article about this.
The short answer: everything that is Arca Style compatible usually feels right at home on the Flexshooter. The cross clamp accepts both lenses with a matching lens foot and cameras with an Arca Style camera plate or L‑bracket. So if you already use an Arca system, you’re ready to go immediately. Specifically, this means: telezooms, long primes, classic standard zooms, mirrorless cameras, DSLR bodies with L‑bracket, more compact setups with smaller plates – all of this can be securely fixed. The only important thing is that the plates are precisely made and truly Arca Style compatible. Then your gear sits stably on the head, without wobble or slipping. Anyone using several lenses with different feet or plates can easily use the Flexshooter as a central base. You simply change the combination without having to fiddle around for ages each time. Especially in wildlife or sports, when things have to move quickly, this pays off. And if you’re wondering whether your particular setup is too exotic: in practice we find that the vast majority of common combinations fit excellently as long as they stay within the Arca system.
Why should I choose the Flexshooter tripod head?
The Flexshooter is the proverbial jack‑of‑all‑trades. It combines several functions in one compact system and thus saves you not only weight, but also the constant switching between different heads.
For one thing, the Flexshooter has a very low build height, which in practice means that your center of gravity is closer to the tripod. This increases stability, especially with long focal lengths or in windy conditions. At the same time, leveling is already integrated. So you don’t need to mount an additional leveling head or other intermediate solutions to get your horizon straight.
On top of that comes the multifunctionality. The Flexshooter can be used as a tilt head, as a gimbal and as a ball head. In use, this means that with a single head you can shoot both classic landscapes and dynamic wildlife or telephoto shots without constantly changing systems. For wildlife, telephoto and landscape, the Flexshooter is therefore particularly well suited.
Anyone who travels a lot or frequently switches between different subjects and situations benefits from this versatility. Instead of carrying three different heads, you take the Flexshooter and cover most of the scenarios that arise in nature and telephoto photography. This saves space in your backpack and reduces the number of parts that can get lost or damaged on the road. All in all, the Flexshooter tripod head offers you a combination of low build height, integrated leveling and true multifunctionality as a tilt head, gimbal and ball head. For anyone who works seriously with telephoto lenses, wildlife subjects and landscapes and doesn’t want to mess around with wobbly compromise solutions, this is a very well‑thought‑out, thoroughly proven solution.
How does the locking mechanism of the outer ball work?
The outer ball has a locking lever.
On the Flexshooter, this special lever – often called an adjustable clamping lever or indexing lever – serves an important ergonomic function, as it allows the ball to be locked in a very confined space:
Engaged (normal state):
The lever is firmly connected to the thread via internal gearing.
Clockwise rotation: The ball is locked (clamped) so that the camera sits securely.
Counterclockwise rotation: The clamp is released to realign the camera.
Pulled out (idle mode):
When the lever is pulled outward against spring pressure, the internal gearing is disengaged. The handle can now be freely rotated without the thread turning with it.
Use: This is particularly useful when, while tightening, the lever hits the ball head housing or the camera. You pull it out, move it to a free position, let it engage again, and can then continue turning to apply the necessary force to secure the ball.
In short: It is a “ratcheting function” that prevents the lever from getting in the way or bumping into something and allows you to individually set the lever position for the fully locked state of the ball.


weitere BLOG-Beiträge

Comment trouver la protection de pied de trépied adaptée
Il est relativement simple de trouver la protection de pied de trépied adaptée à ton trépied.
Les LensCoat Wraps existent en deux versions différentes (en dehors des nombreuses tailles et motifs de camouflage).
Mesurer le diamètre et la longu...
pas en stock, l'article sera commandé pour vous

Solution de protection pour le transport sécurisé de grands téléobjectifs
LensCoat TravelCoat, protection de transport sûre pour grands téléobjectifs
Les grands téléobjectifs comptent parmi les éléments les plus précieux de nombreux équipements photo.
Surtout en
photographie animalière, de nature...
pas en stock, l'article sera commandé pour vous

Capuchon de protection fiable pour la lentille frontale sensible
La lentille frontale d’un objectif fait partie des composants les plus sensibles et en même temps les plus importants de ton équipement photo.
Même de petites rayures, des particules de poussière ou des chocs peuvent, à long terme, alt...
pas en stock, l'article sera commandé pour vous

Séries de mise au point précises pour des stacks ultérieurs
Il est très simple de réaliser des séries de mise au point macro exactes pour le calcul ultérieur d’un stack...
.
.
Principes essentiels pour des résultats propres
...
.
à condition de respecter quelques exigences fondamentales.
Matériel util...
pas en stock, l'article sera commandé pour vous

Remarque importante concernant l’ancien pied Monostat et son remplaçant
Tout ce qui caractérisait le pied Monostat, ce nouveau pied de trépied le permet également, et même mieux sur certains points, car il a été conçu dès le départ pour un montage plus simple avec un filetage standard 3/8".
Ce qui f...
pas en stock, l'article sera commandé pour vous

Les ancrages de sangle QD sont pour de nombreux photographes une solution pratique lorsqu’il faut combiner rapidement et en toute sécurité appareil photo, sangle et trépied.
Des modèles comme le Magpul QD Strap Swivel Adapter, le Magpul QD Strap Swivel D-Loop ou l’adaptateur de sangle Kirk KQD-V2 Pu...
pas en stock, l'article sera commandé pour vous

FAQ about the Flexshooter tripod head
When you start looking into the Flexshooter tripod head, the question usually isn’t whether to get one, but rather the famous “Yes, but which one exactly?
”.
In this FAQ about the Flexshooter tripod head we’ve collected the typical questions we get more frequen...
pas en stock, l'article sera commandé pour vous
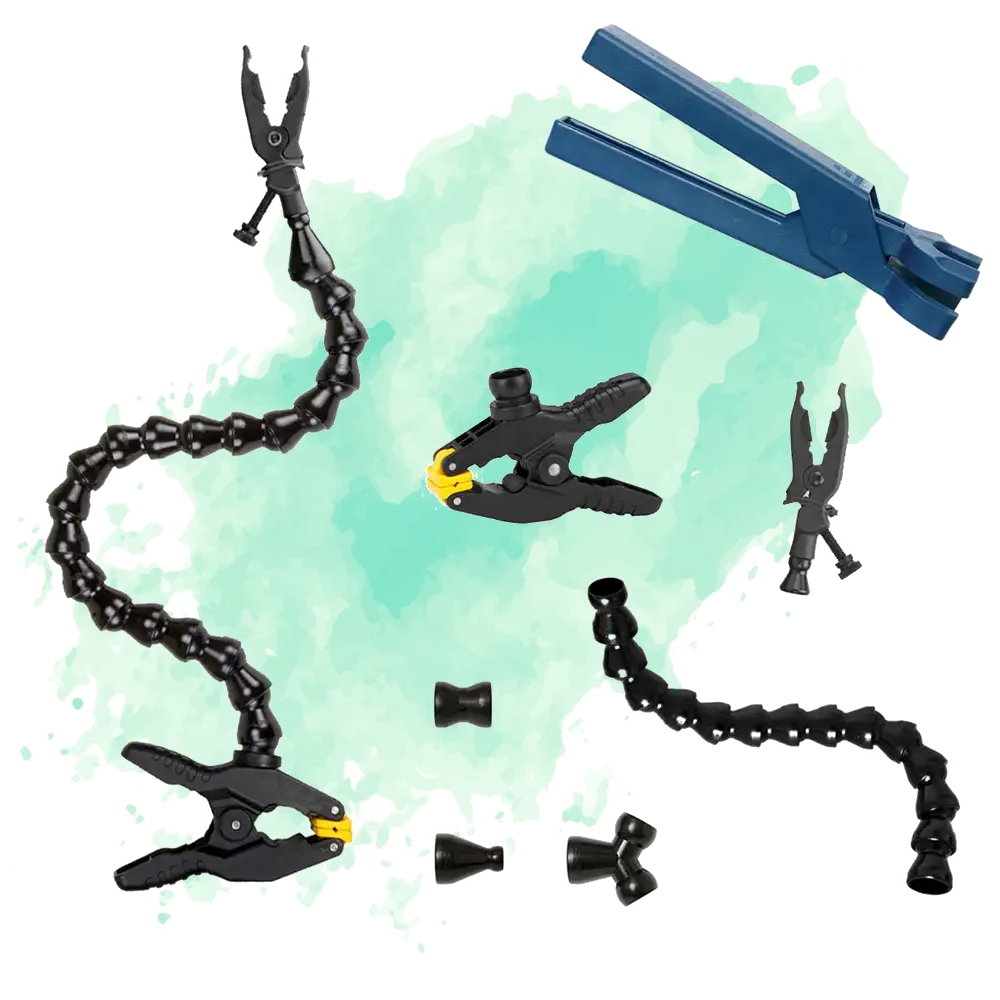
Accessoires macro de Wimberley, la Plamp-Family pour une macrophotographie précise Quiconque se consacre sérieusement à la macrophotographie se heurte tôt ou tard toujours à la même situation : le sujet est magnifique, mais la lumière ne convient pas, une légère brise fait bouger la fleur et le diff...
pas en stock, l'article sera commandé pour vous
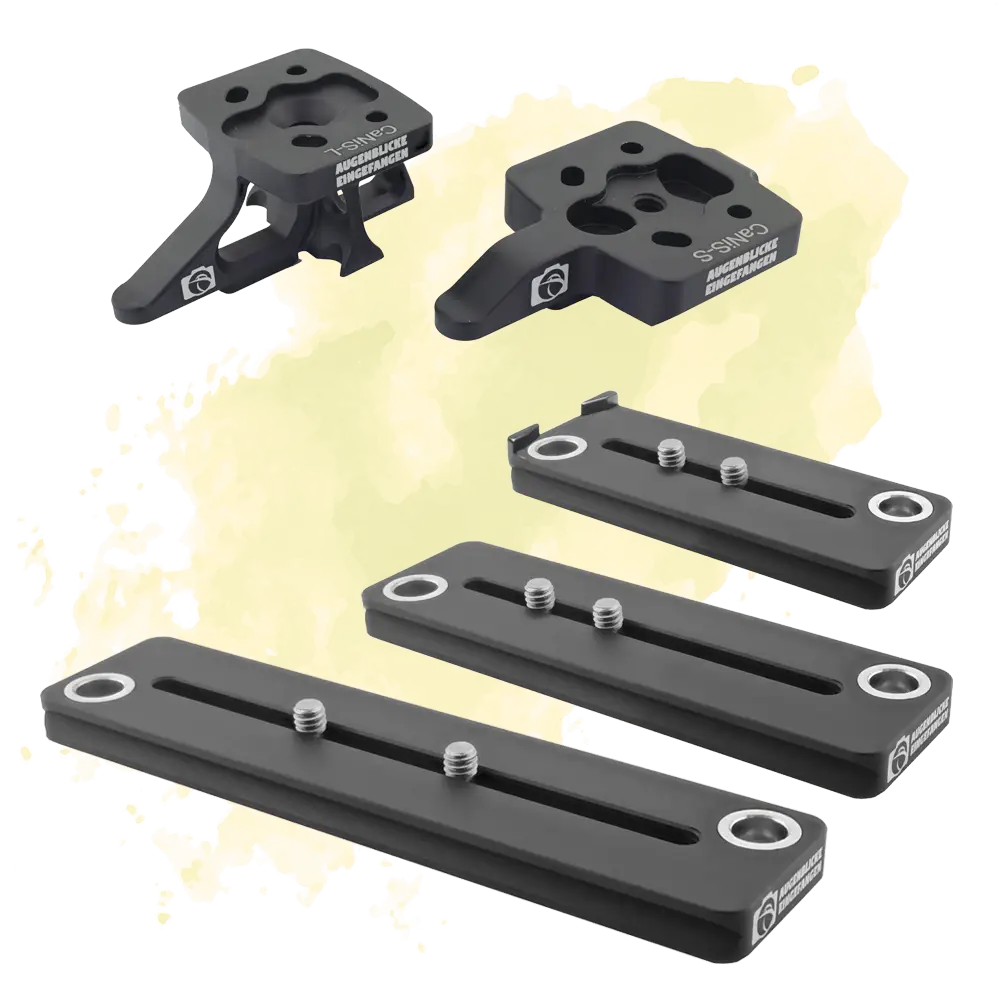
Découvrez l’innovationPieds modulaires de remplacement pour téléobjectifs de Augenblicke-eingefangen Pour les photographes ambitieux, toujours à la recherche de l’équilibre parfait entre stabilité et flexibilité, les pieds modulaires de remplacement de Augenblicke-eingefangen offrent une solution m...
pas en stock, l'article sera commandé pour vous

D’une manière ou d’une autre, il faut bien porter l’équipement photo.
Mais comment fixer la courroie à ton appareil photo ou à ton objectif ?
Traditionnellement, une courroie est fixée à 2 œillets sur l’appareil, et pour les objectifs lourds, une courroie est fixée aux œillets du col...
pas en stock, l'article sera commandé pour vous